
Images and Pictures
There's a huge variety of file types that can contain images and we'll accept most of them. Broadly speaking, image files fall into one of two categories: vector images and raster images. A vector image is made up of lines and shapes and is commonly used for corporate logos and text. The great thing about vector images is that they can be resized without looking "blocky" or pixelated. This means that our printing machines will do a really good job of reproducing smooth lines and curves in your atwork. If you have a file that ends in .AI, .SVG, .EPS or .PDF then its probably a vector file. The other type of images are raster. These are more commonly used for photographs from a digital camera. There's a limit to how much we can enlarge the image before it starts to lose quality, so if you want to upload a photo, we suggest that you upload the image directly from your digital camera without resizing it first. The better the image, the better the quality of the print. If you have a file that ends in .JPG, .JPEG, .BMP or .PNG then its a raster image.
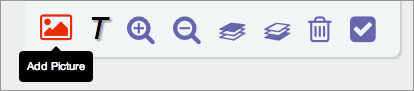
Click on the "Add Picture" icon to select an image file to upload.
Adding Text
We've teamed up with Google to provide you with a great selection of professional fonts to choose from in your artwork. Just click on the "T" for text icon and start typing. Once you've entered your message, you can position your text by dragging it with your mouse. You can change the font, text colour and font style (bold/italic) using the toolbar.

Click on the "Add Text" icon and start typing your message.

Use the text toolbar to customise the appearance of your text.
Working with layers
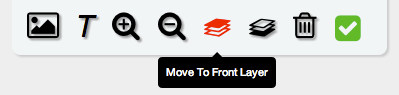
Our simple layer adjustment tools will help you to decide which elements of your artwork appeat at the front and which appear at the back. Say you want some text to appear in front of a picture instead of disapearing behind it. Just click on the text element to select it. A dotted line will appear around the element with little boxes (handles) in the corner to resize it. Move your mouse down to the toolbar and click the "Move To Front Layer" icon. You could also select the image in the same way and click the "Move To Back Layer" icon. Having both icons is useful if you're working with three or more elements.
Move any element to the top layer.